Ultrasound imaging is a cornerstone of modern diagnostic procedures, offering a window into the body’s internal structures and functions without invasive intervention. The quality of the ultrasound images and the accuracy of the diagnostic outcomes hinge significantly on the correct placement of the ultrasound transducer. This guide delves into the crucial aspect of transducer placement, providing insights into techniques and considerations critical for achieving optimal imaging results.
Understanding the Ultrasound Transducer
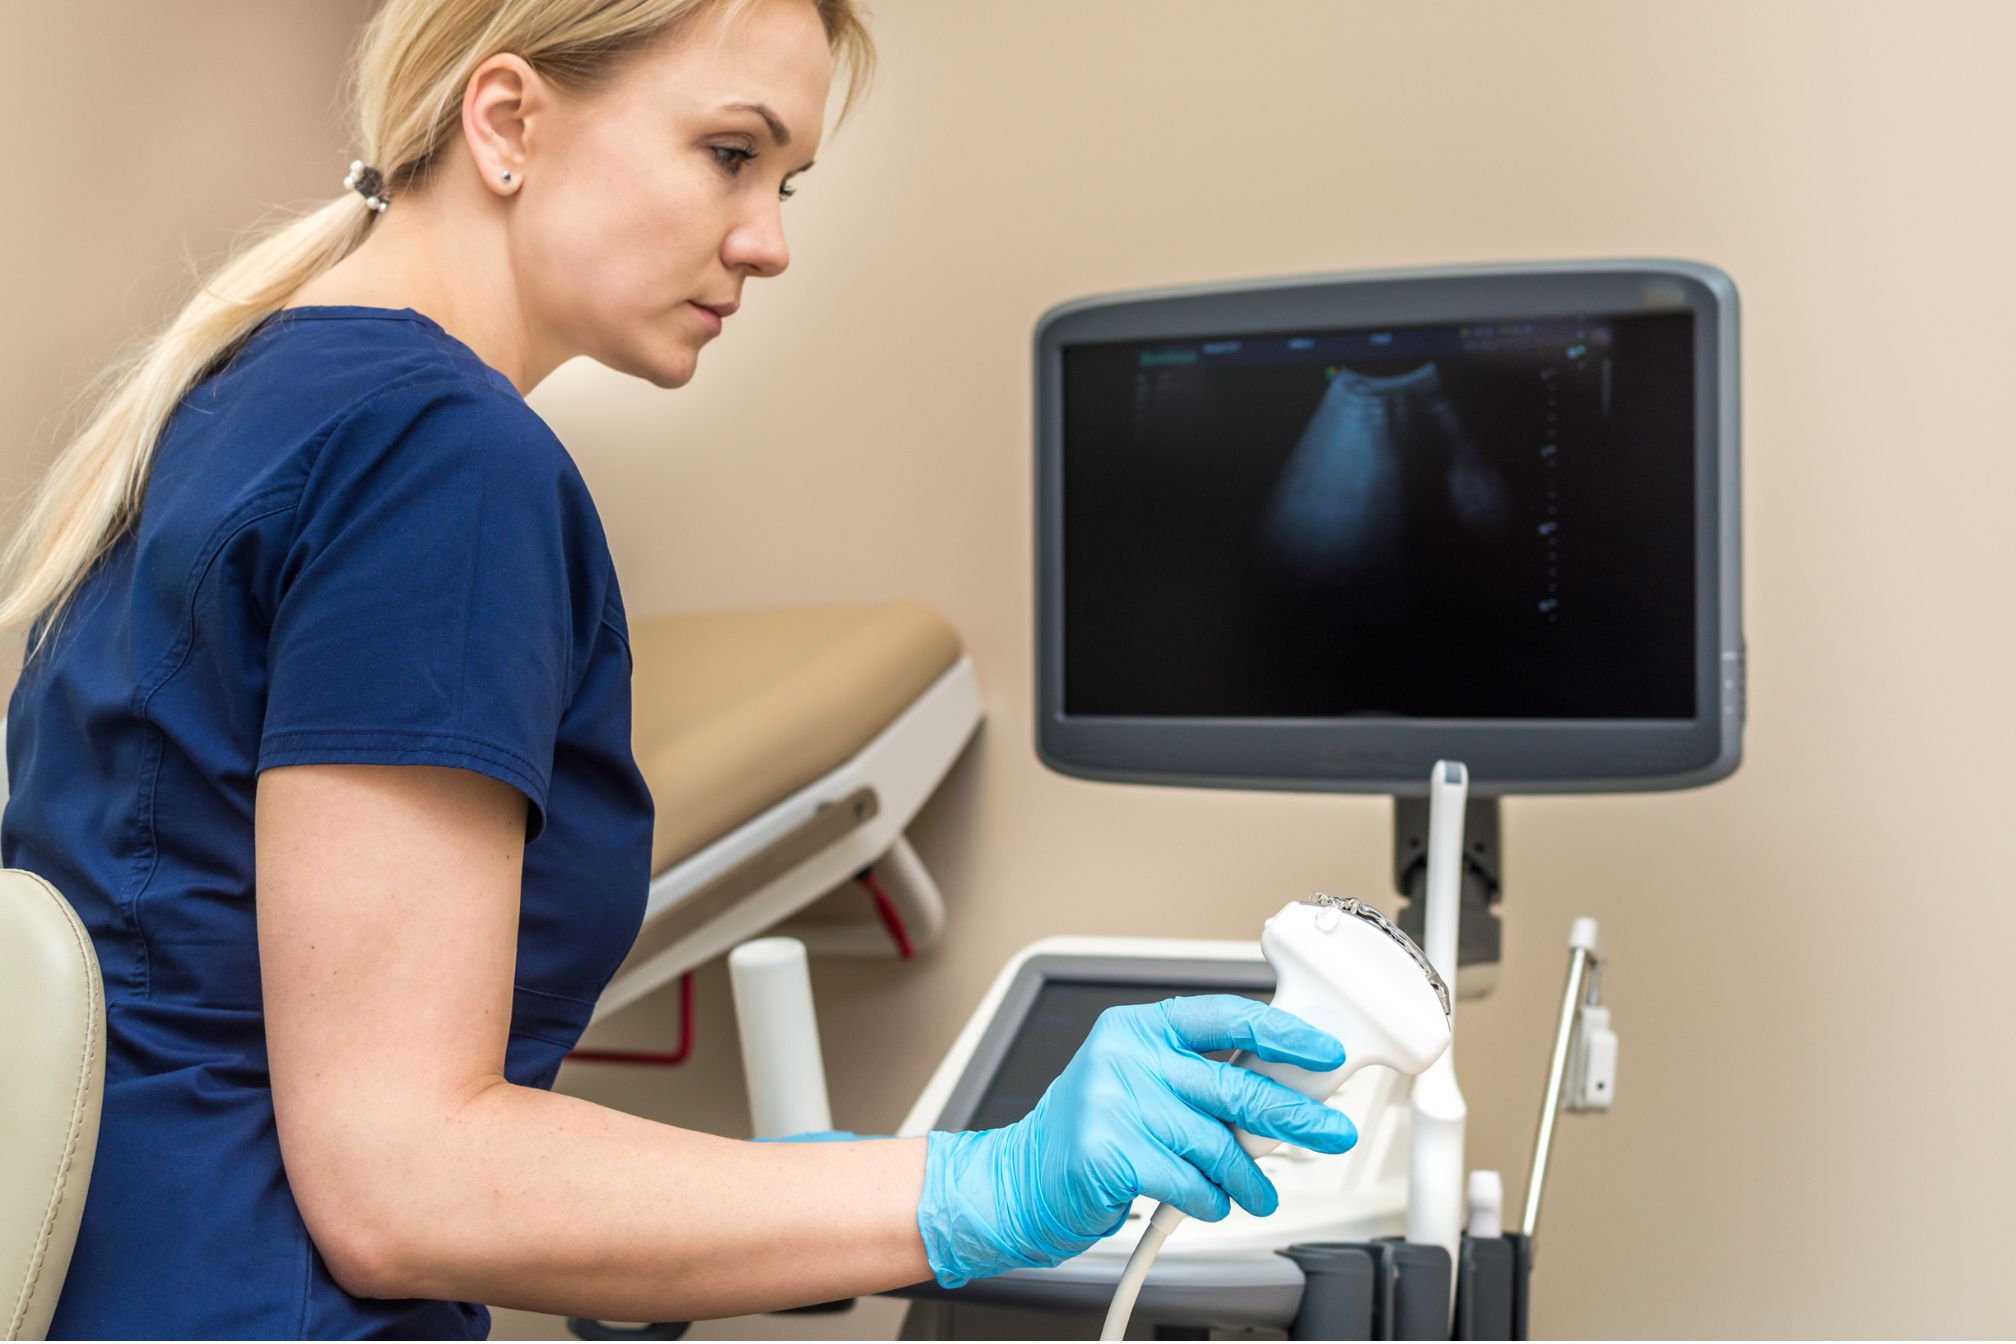
Before exploring the nuances of transducer placement, it’s essential to grasp what the ultrasound transducer is and its role in ultrasound imaging. A transducer, also known as a probe, is the device that emits ultrasound waves and receives the echoes that bounce back from tissues. These echoes are then translated into images displayed on a screen, providing real-time insights into the body’s inner workings.
Transducers come in various shapes and sizes, each designed for specific types of examinations. The selection of the appropriate transducer and its correct positioning are pivotal to capturing high-quality, diagnostically useful images.
Principles of Transducer Placement
1. Selection of the Appropriate Transducer
The first step in ensuring correct transducer placement is choosing the right transducer for the examination. This choice is influenced by the depth and nature of the tissue being examined. For instance, higher frequency transducers (linear) are suited for superficial structures, while lower frequency ones (curved or phased array) are used for deeper tissues.
2. Understanding Body Anatomy
A profound understanding of human anatomy is crucial for effective transducer placement. Knowledge of the structures and their spatial relationships helps in positioning the transducer to obtain clear images of the target area while avoiding obstructions like bones or gas-filled organs that can impede sound waves.
3. Application of Adequate Gel
The use of ultrasound gel is a critical step in transducer placement. The gel acts as a conductive medium, eliminating air pockets between the transducer and the skin that can distort the ultrasound waves. Applying an ample amount of gel ensures better acoustics and image clarity.
4. Transducer Orientation
Correctly orienting the transducer is fundamental for accurate image interpretation. Most transducers have a marker that corresponds to a marker on the screen, indicating the orientation of the image. Ensuring the transducer’s marker aligns with the anatomical region of interest is key for coherent image orientation and accurate diagnostics.
5. Adjusting the Depth and Gain
Once the transducer is correctly placed, adjusting the imaging depth and gain (brightness) is crucial for optimal visualization. The imaging depth should be set to ensure the area of interest is centrally located on the screen, while the gain can be adjusted to enhance image quality.
Techniques for Effective Transducer Placement
- Sweeping: Gently moving the transducer along the skin to explore adjacent structures or to follow a structure longitudinally or transversely.
- Rocking: Tilting the transducer forward and backward to optimize the angle of incidence, especially useful in avoiding rib shadows in thoracic imaging.
- Rotating: Turning the transducer around its axis can help align the ultrasound beam perpendicular to structures, particularly valuable in vascular imaging to achieve a cross-sectional view.
- Compression: Applying gentle pressure can help displace gas or compress soft tissues for better visualization, often used in examining abdominal structures.
Common Challenges and Solutions
Obstructive Shadowing: Bones or gases can create shadowing that obscures underlying structures. Solution: Adjusting the position or angle of the transducer can help sidestep these shadows.
Suboptimal Contact: Poor contact between the transducer and the skin results in poor image quality. Solution: Ensure ample gel application and maintain steady, gentle pressure.
Deep Structures: Difficulty visualizing deep structures due to attenuation of sound waves. Solution: Utilize lower frequency transducers for greater penetration.
Conclusion
Mastering the art of ultrasound transducer placement is a critical skill for healthcare professionals performing diagnostic ultrasound examinations. Correct transducer selection, precise placement, and adept manipulation are the keys to obtaining high-quality images that can significantly impact diagnostic accuracy. With practice, an understanding of human anatomy, and adherence to the principles outlined in this guide, clinicians can achieve optimal imaging outcomes, leading to better patient care and diagnostic success.